This is less a tutorial and more a small examination of how I’ve been using Blender’s cloth simulation feature to make my renders more realistic or just do most of the posing work for me so only sculpting or tweaking is left.
Not Animations!
These tips are probably not too helpful for animations due to the workflow used, but I’m by no means an expert in making animations.
Cloth Simulation Requirements
There’s a couple of things you will need here:
The clothing must be rigged to the character, it doesn’t have to be amazing because you can make adjustments with Shape Keys before simulating, but it does need to follow the character.
The clothing must also be single sided, meaning your clothing cannot have thickness. You can use a solidify modifier without issue, just disable it while simulating.
This is by no means the best way of doing things, just a way I’ve found works well for me. Feel free to share your tips in the comments.
Cloth Simulation Steps
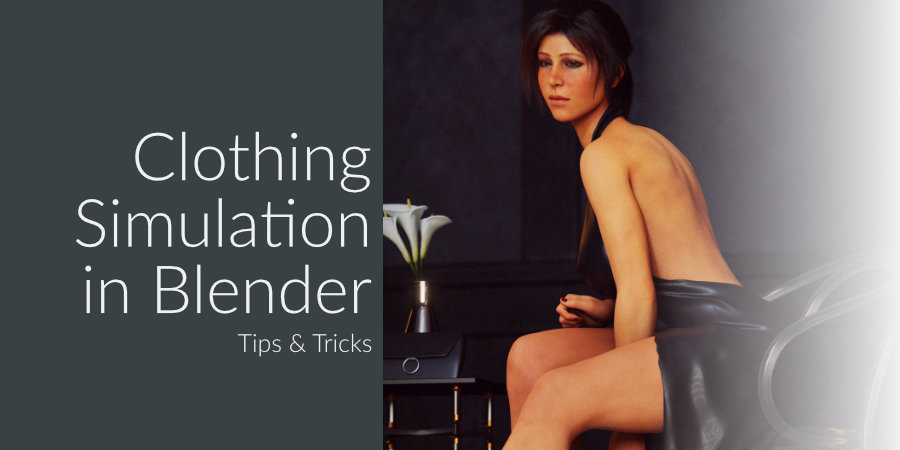
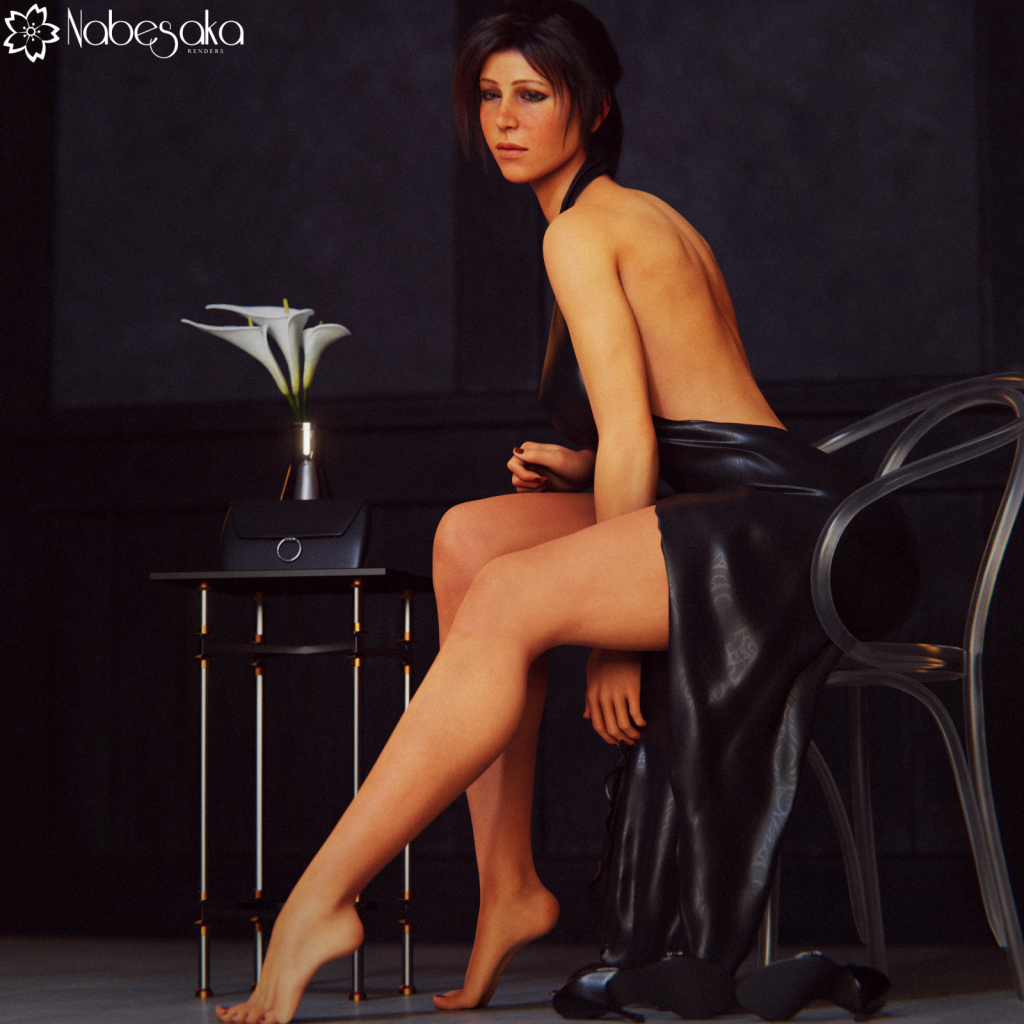
Let’s take a look at how I used the cloth sim to simulate Lara’s dress in this image.
First the cloth simulation settings:
For the most part I use default settings or the ‘cotton’ preset. Increasing the quality steps to 10 can help if you need more detail. If you need something a little more float-y you can try the ‘silk’ preset, but it can be very hard to control and might need a lot of steps.
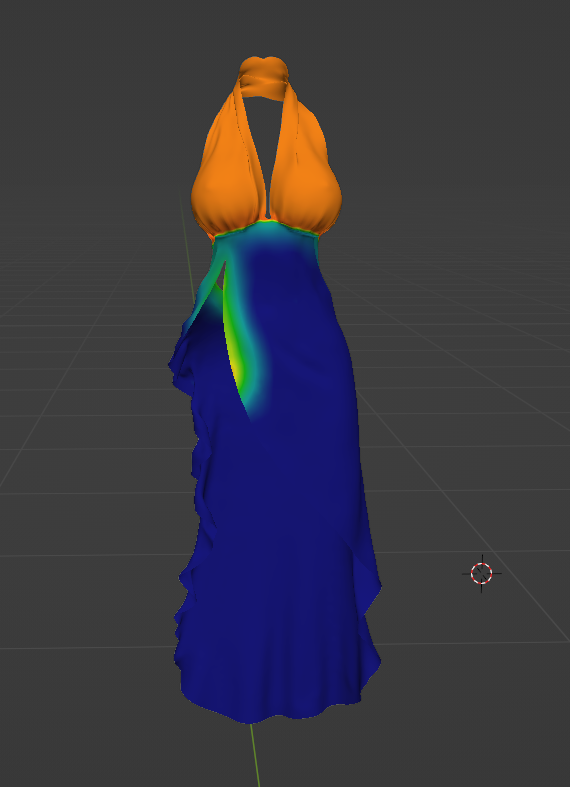
A huge part though is making sure you set a pin group. Always try to pin one part of the cloth to your model. For this dress the pin groups are the back of the neck, around the leg slit and lower open back.
It’s important to note this pin group is not always at a weight of 1 though, it is weight painted to allow only a little bit of simulation in areas that are more more likely to be unstable due to constant collisions or might normally use ‘garment tape’ in reality for modesty purposes.
If you can, make sure to use self collision, it helps a lot, especially with clothing. I would also recommend setting a ‘bake’ range. Don’t always use the default 250 frames, only bake what you need.
Cloth Simulation Workflow
I use settings like I’ve already discussed, but then how do I fix issues or sculpt extra detail? You can’t do that to a simulated mesh.
Well here’s my current workflow. Animate your character as needed. Since I do stills I regularly just set keyframes for the rig in the final pose at frame 150 and then Alt + g, Alt + s, and Alt + r the controls at frame 0 and set keyframes there. This gives a nice smooth transition to the pose unless it is far away from world origin.
I then simulate to around frame 175 – 200 to let the cloth settle after the motion has ended. Once baked scrub through until you find a frame you like. While on that frame go to the cloth modifier and Save as Shape key.
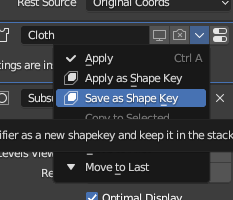
This will save the mesh’s shape on the current frame as a shape key. Let’s now use it so we can do some corrective sculpting and add more detail.
Disable your Cloth modifier, and your armature modifier on the clothing. Simply turning off the viewport and render visibility icons in the modifier panel is enough. Now dial up the new shape key to 1 and your dress should be back as it was after simulation.
You can now do whatever you want. I like to sculpt a little more fixing any clipping or collision issues.
Cloth Simulation Extra Tip
If you are having trouble with collisions working for objects, like I was with the chair in the Lara render, a good option is to use something simpler for collision.
For the chair I lined up a simple cube and used that as the collider instead with some extra collision steps. Slowing down the movement of your character can help a lot if you can’t afford extra collision steps.
Finally impulse clamping is a very overlooked option that helps a lot. I use between 25 – 55 on most items. My understanding is that is prevents sudden spikes in velocity from ‘yeeting’ the entire mesh to the moon. I’ve very rarely seen the all too common ‘polygon explosion’ since I started using it.
I hope this was helpful to someone in someway. Maybe this technique is super common, but I haven’t seen it mentioned much anywhere so thought I would share. Enjoy.
Be First to Comment