It’s been quite a while. I know you probably all want to get on with the tutorial so I won’t bore you with life updates, but suffice to say my mental health (like everyone’s I’m sure) has taken a beating over the last year or so.
Quick Note
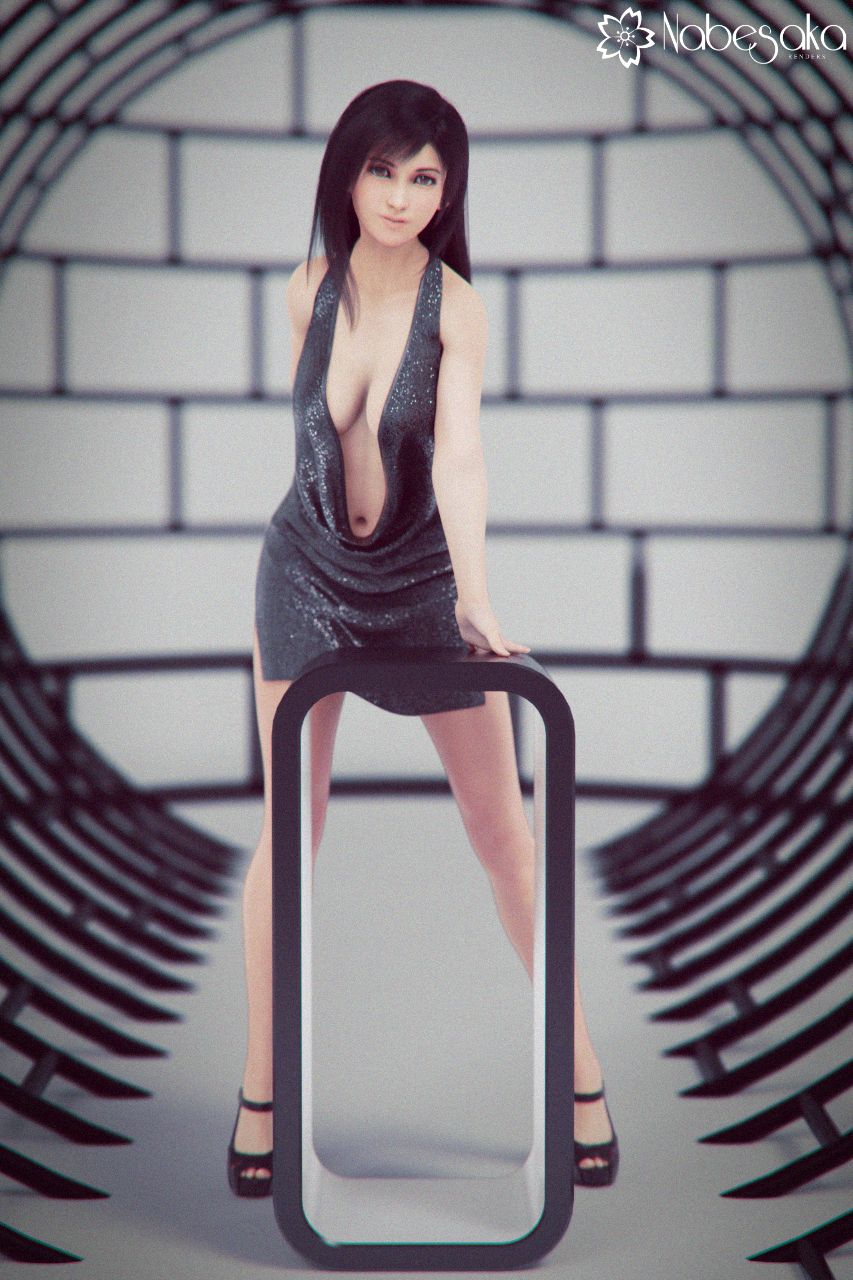
A quick thank you to MustardSFM for making the amazing Tifa model. Check it out, but do note Mustard’s website is 18+.
I recently made a render with Tifa wearing a lovely cowl neck dress that I imported from Daz, as shown in the cover image for this post. The Dress had sequin like textures but they didn’t really convert over to Cycles all that well, especially since iRay has a ‘metallic flakes’ slider built in.
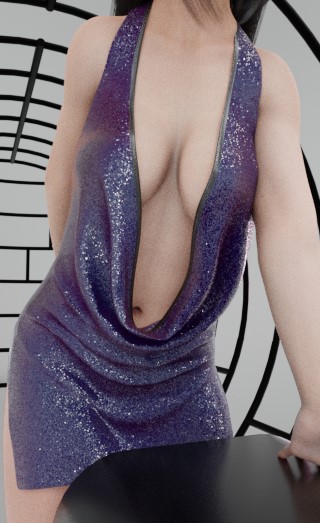
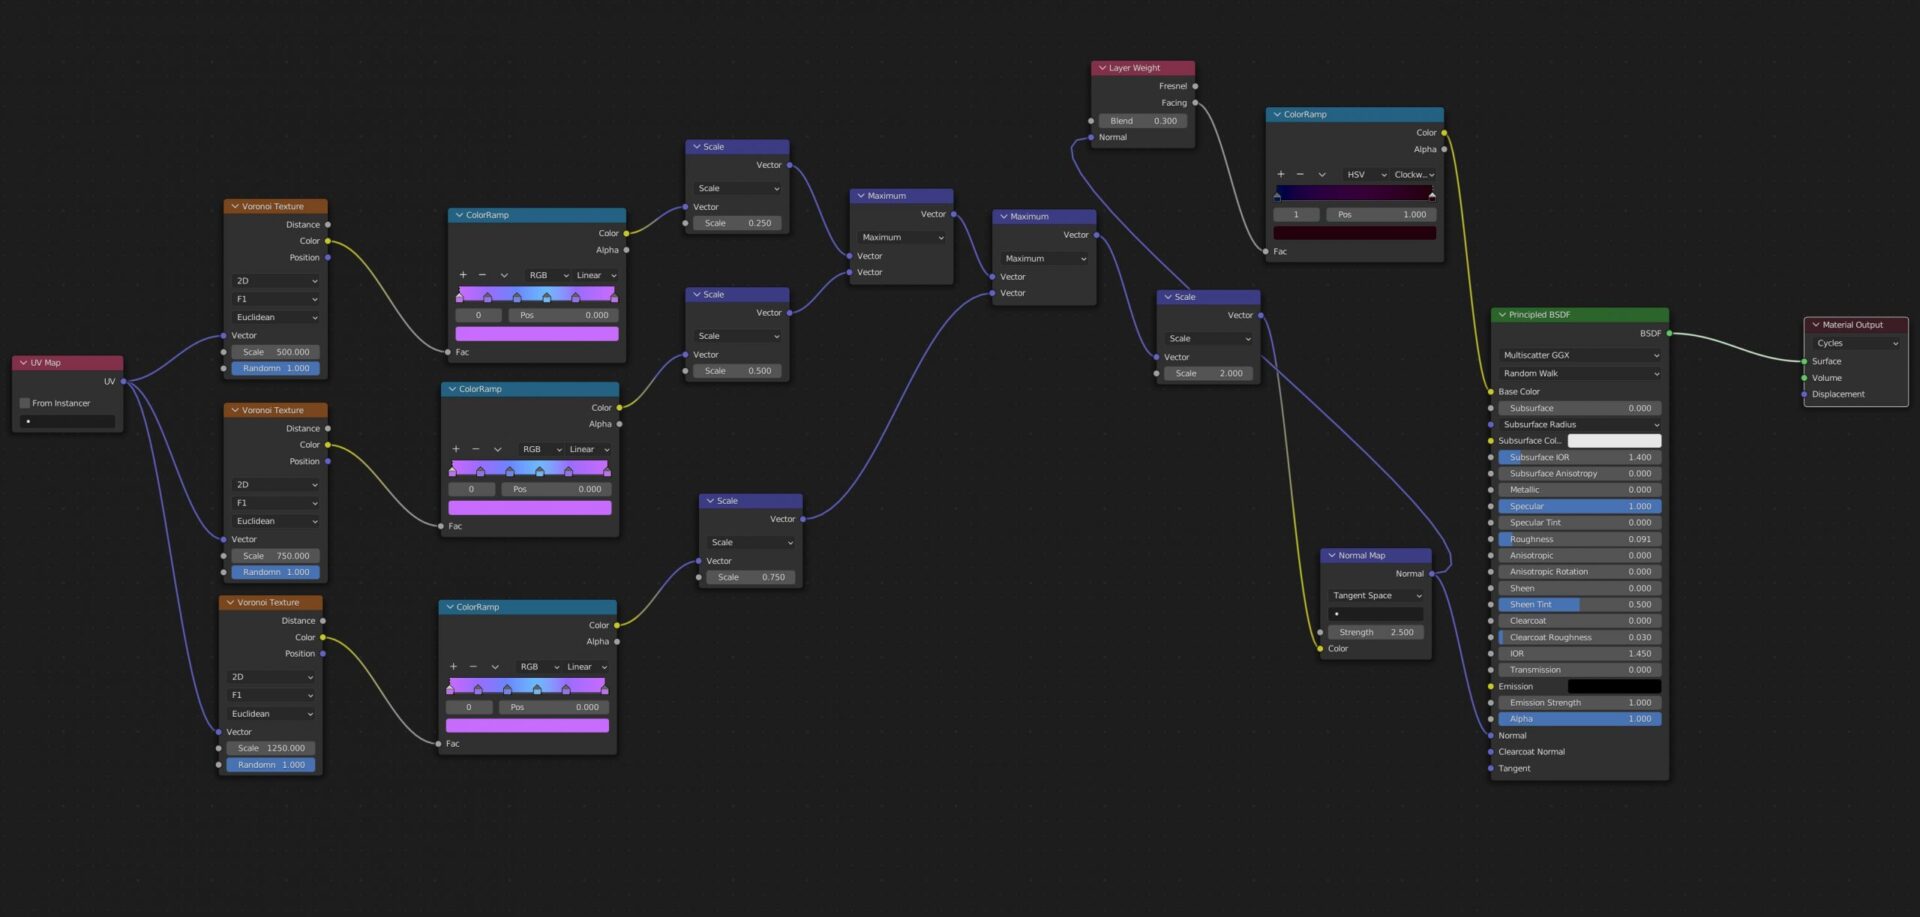
So, here is my own version of a procedural glitter / sequin material. Feel free to use as you want. I’ll explain what each node is doing, but below is an image of the nodes if you want to just grab & leave.
Glitter / Sequin Material Rundown
The material isn’t really too complicated, but let’s look at everything.
The best option for the shape of Glitter is a good old Voronoi texture. Lets grab a few and input a texture coordinate system to make it look right. Because I’m using a Daz asset my best option is the UV map (it only has one so I don’t need to choose a map). You may want to use Generated or Object coordinates if your object doesn’t have a UV map.
Voronoi set to 2D (this will save on memory a little), then we make 2 other copies (so 3 nodes). These copies will have different scales to give large, medium and small flakes. You could go for more sizes if you want to add more variation in size, but due to some vector math done later in the network to join everything together you’ll probably get diminishing returns.
We pass the color data of the Voronoi through to a Color Ramp converting the colors to the colors of a normal map. If you want to use the same colors as I have you’ll need 6 stops roughly even distance apart with these colors:
- Stop 0: #C86CFF
- Stop 1: #996CFF
- Stop 2: #6C85FF
- Stop 3: #6CBAFF
- Stop 4: #996CFF
- Stop 5: #C86CFF
You can sample the colors from an actual normal map if you like, but these seemed to work well for me.
They are then passed through a Vector Math node set to Scale. You can use this to change the ‘weight’ of each flake size. They are then all added together using a Vector Math node set to Maximum. This will only keep the higher of the values passed for each value in the textures merging them together while preventing it from amplifying areas like adding might.
You can play around with other operations, but I found Add too intense and Minimum caused normal issues.
We add a final Vector Math Scale node to ‘amplify’ the texture of things, you may or may not need this, and run it through a Normal Map node. I have a fairly high strength here, you may need it higher or lower depending on what you are using it for.
All of this is passed into a Principled BSDF. Just set it up as you need for whatever your material needs. In my case I just have low roughness, high specular and you could add some metallic in there too.
Adding Iridescence
In the final render with Tifa I chose to use a simple black color for the dress, but I figured why not spice it up with a little bit of iridescence. It’s fairly simple to add with a Layer Weight node and a Color Ramp.
Just throw the Layer Weight Facing value into a Color Ramp Factor. Set the color to 2 colors you want to ‘shift’ between depending on the angle and use HSV. You can do a rainbow by setting the Hue to 0 and 0.99 on two stops and then setting the direction to Clockwise.
Adjust Value, Saturation and the Layer Weight’s Facing to your preference and you have a lovely iridescence effect.
Finishing Up
That’s it. Hope you enjoyed this quick material setup. I know a lot of you might just want to grab a blend file and bounce, but I’m a big fan of learning how things work, so if you made it to the end & made your own node setup. Awesome job! I’m proud of you!
A huge thanks to Erindale who is a real Node master over on YouTube. Their videos have been a huge help in me learning more about how to make procedural textures, what nodes do and how to understand Vectors.
Notes
A quick aside. I’m aware sequins are generally small bits of round or hexagonal plastic sewn onto a dress. You could make a sequin pattern using nodes, but I’m not that good and I think this Voronoi texture looks good enough.
Be First to Comment