Sometimes you find yourself doing the exact thing everyone told you not to do. In this case that is moving the high frequency detail back from your displacement textures onto your model!
Why Transfer Displacement Back to the Model?
So why would you do this? There are a few reasons I can think of:
- You don’t have access to the original sculpt/model and want to add extra details and re-bake textures.
- For some reason texture memory is limited but you can load a high poly object – Yes I’m reaching here
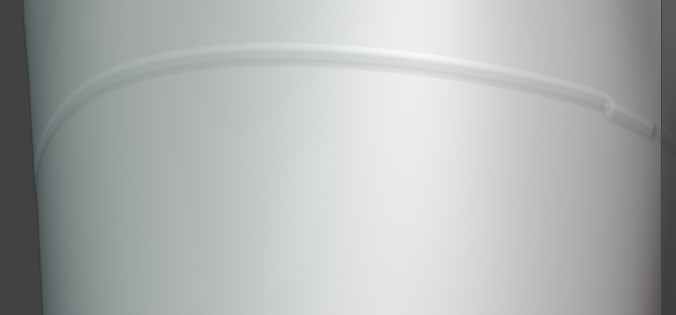
Or you could have the same reason as me. Blender has a ‘bug’ or ‘quirk’ that causes displacement textures to have a visible seam the bug report has been archived at this point, but the problem is still there. The original model the maps were baked from did not have any seams, so I know that is not the cause.
Transfer Displacement Modifier to Geometry – Quick Version
For those of you who are super familiar with Blender and don’t want to read my rambles and asides here is a quick version of the steps:
- Duplicate Model -> Delete All Shape Keys -> Delete modifiers excluding Armature / Displacement
- Add Multi-resolution -> Subdivide to max level required by displacements -> Apply Displacement(s)
- Select Original Model -> Mute Shape Keys -> Remove Subdivision + Displacements -> Add Multi-resolution -> Subdivide to same level as duplicate -> Select Duplicate + Original (Original Active) -> Click ‘Reshape’ on Multi-resolution
Now if you prefer it, here is a longer version with better explanations of each part.
How to Transfer a Displacement Modifier Back to a Model’s Geometry?
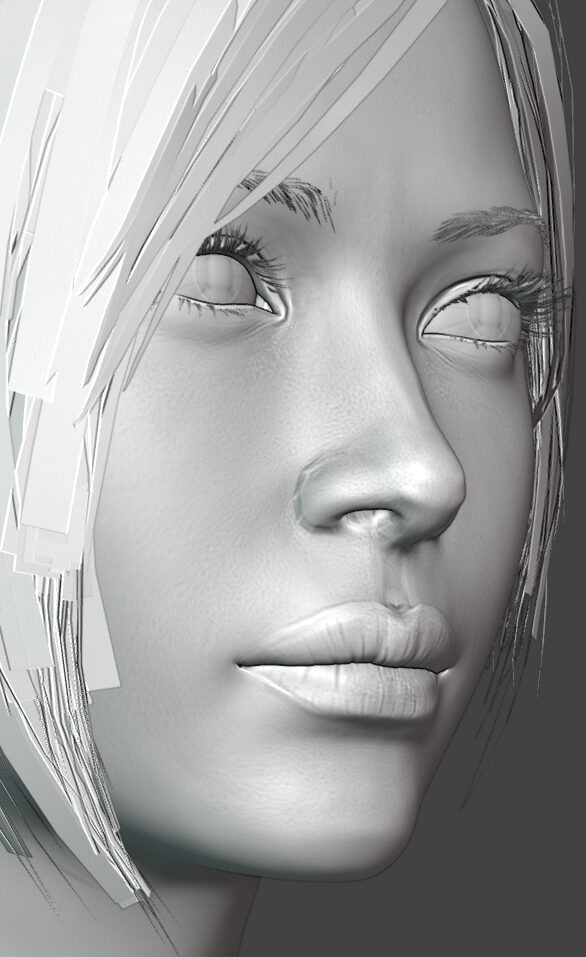
I will be using a model of Ada as an example. I want to transfer the displacement details from the texture back to the model so I can fix the seam line particularly visible on the thigh.
Now, duplicate your model’s mesh with Ctrl+D and right-click to leave it on top of the original model.
On that duplicate we are going to apply the displacement detail. First make sure you are in the rest pose (if the model has an armature) and delete all the shape keys, you cannot apply displacement while it has shape keys.
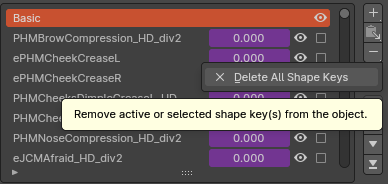
I use Shape Keys+ here it makes managing Shape Keys so much easier. Note you should disable subdivision or enable simplify, that will make deleting shape keys quicker. You’ll also want to remove any mask modifiers. Just leave your armature (if you have one) and displacement modifiers.
Important Note
Shape keys will be retained on the original model and should all still work. We just need to remove them from the duplicate to apply the displacement modifier(s).
Now remove any subdivision modifier and add a multi-resolution modifier. You will then want to disable simplify and subdivide up to whatever level is required for your displacement to show it’s full detail. In my case this is 4 levels of subdivision. This should look no different to how you usually use displacement textures.
Now we are going to apply the displacement modifier. I have three. One for general detail, one for extra details the legs/feet and one for genital displacement. Apply any you have, I don’t believe the order matters.
Odd Issues
Sometimes I have had issues applying the displacement if it is not visible in the viewport. If you are having problems make sure simplify is off and that you can see the full level of subdivision in the viewport.
Once your displacement is ‘real’ on your duplicate model you can go to the original model and add a multi-resolution modifier to it. Add the same level of subdivision as your duplicate.
Important!
You need to mute all of the shape keys on the original model, it must be in the same state as the duplicate model (no shape keys active) for this to work correctly. You can use a small script like this Gist to do so quickly.
Now select your duplicate model, then your original model. The original model must be the active one. Save your file (and maybe make a backup) then press the reshape button.
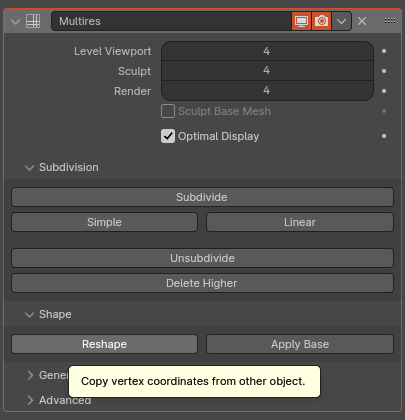
This will transfer the vertex coordinates of the displaced mesh to the original mesh. Once done you can un-mute the shape keys and delete your duplicate mesh.
That’s it. You are done. The displacement is now stored in the Multi-resolution modifier.
Disadvantages of Using Multi-Resolution
One of the major disadvantages is that multi-resolution is per object and does not include shape keys. So modifications to the object will only be stored as a shape key if the multi-resolution modifier’s sculpt level is set to 0. Otherwise it is stored in the Multi-resolution modifier. This can be a pain for sculpting pressure on body parts etc.
For now I prefer this method due to the problems I have with displacement maps, but I encourage you to use whatever you find best for your workflow.
I hope this was helpful, please let me know if you have questions below and I’ll try my best to help.
Be First to Comment