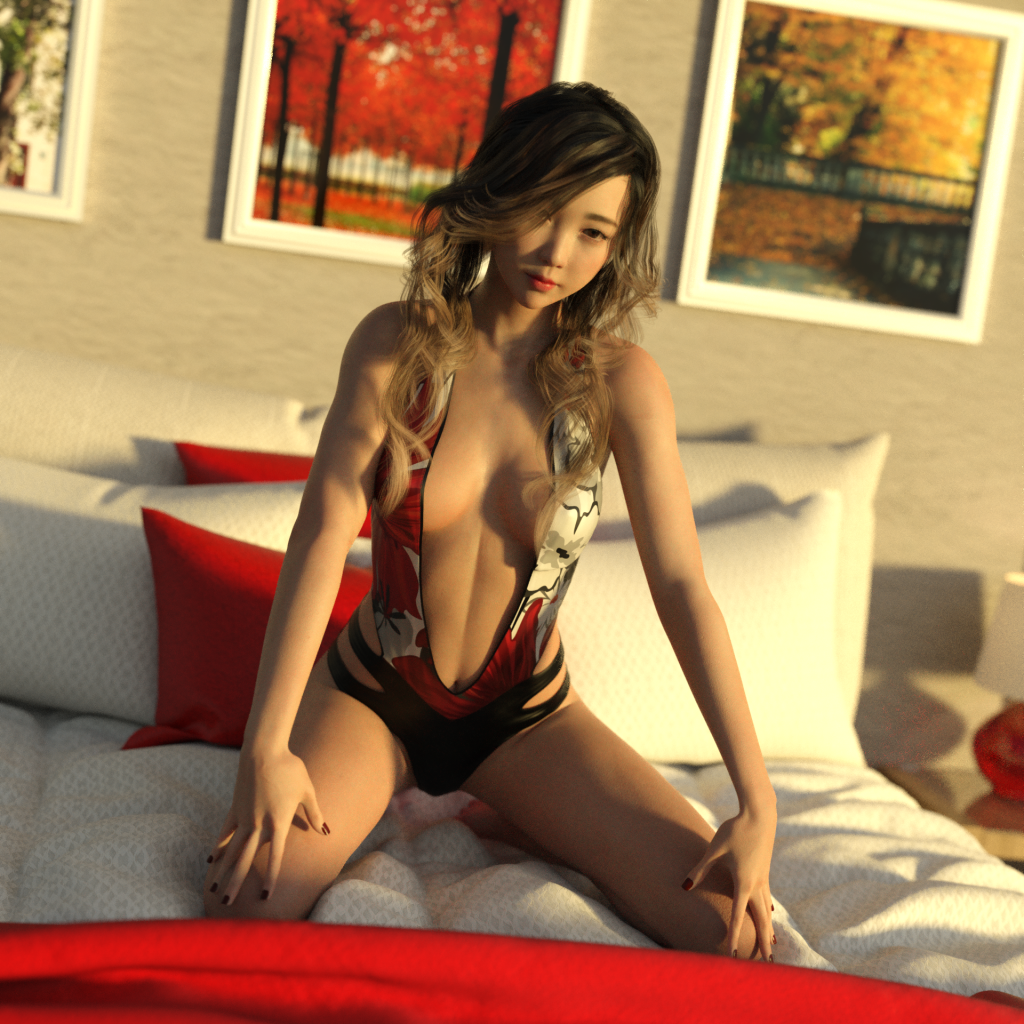
One of the trickiest parts of any interior based scene is the fact that a path trace renderer such as iRay will generally take quite a while to converge to any acceptable level.
There are however some simple tips that can be used to reduce render times quite significantly. Let’s take a look.
Lack of Lighting
A simple issue can be that there is not enough light. This is especially a problem if you are lighting your scene with only an HDRI. The only light coming in will be through any open areas such as windows.
A simple solution is to place some point lights with a low emission in the room to provide some extra light. This provides some extra light sources already inside the room, and should still keep lighting within what you might consider ‘realistic’ levels.
Emissive Windows
This is a pretty overused technique but still very helpful. Turn your window into an emissive surface. If it is in view of the camera then it will appear white, but in most cases this would be correct. The darker interior lighting would cause the window to appear very bright and ‘blown-out’ to a camera.
Light Portals
If you create a point light and set its ‘Light Geometry’ to rectangular a new option called ‘Light Portal’ will appear under its light properties. When placed in front of small entry ways such as windows these will help ‘guide’ the light paths from the iRay renderer into the window.
Note
I’m unsure which side of the window the portal should be placed on, or if it matters at all. I seem to have more success placing them just inside the window.
You will, in most cases, need other lights inside your room still and also make sure you have your rendering settings set to ‘Scene & Dome’ and enable the ‘Caustic Sampler’ in the Optimization section of the Render Settings. This is very important to make sure your lights and your HDRI are take into account and (according to the Daz 3D Documentation) ‘Caustic Sampler’ must be enabled for portals to work correctly.
It should be noted that these light portals can be very situational and, according to Nvidia, do not help if using the built in ‘Sun/Sky’ system. Your mileage will definitely vary on this one.
For reference here is a render made with just an HDRI, portals and minor lighting provided by objects with emission (like the bedside lamp). Again this is just an example you will, generally, need additional lights. This rendered for 1 hour and is still somewhat noisy.

Top Tip
You may be able to use Supersampling to reduce noise. That is render at a much higher resolution than required and resize down to the size you require.
iRay Section Planes
This one is possibly my favourite option. iRay section planes can be used to ‘slice’ through anything being rendered by iRay. They cut infinitely in a flat plane indicated by their bounding box and anything behind them disappears.
If you place them around your camera your HDRI will be able to light the interior of your room. An excellent example of this is Paper Tiger’s Precision HDRI Lighting which comes with an ‘X-Ray’ camera. This is essentially a camera with iRay Section planes already setup and aligned to the outside of the camera.
I can definitely recommend Paper Tiger’s HDRI pack, but with a little effort you can easily set up the camera manually. Just make 5 iRay Section Planes and arrange them around your camera. One against the back, and the other four in line with the focal lines of your camera.
Here is an example of what a render can look like. This took 15 minutes to render to this point.

It important to remember that using iRay section planes will essentially ‘remove’ all geometry that could have effected lighting. As such you will need to select the right HDRI and lighting to look correct for your interior.
Here I chose an HDRI with light coming from the left as the room had large open patio doors in that direction where light would have come through.
Interior Lighting Conclusions
As you can see there are many ways you can use to help improve render times on interiors. Which one you choose, I believe, depends on your thirst for realism. Here is a quick TLDR:
- iRay Section Planes: Give fast render results but can look a little too ‘outdoors’ like if lighting is not adjusted to take into account the removal of room geometry.
- Portals: Highly realistic results but can take a long time to converge to acceptable levels.
- Emissive Windows: Limited uses, somewhat overused. In my opinion looks good in pinup and photography style renders.
- Extra Lighting: Always a good option. Especially a good idea if all of your main light sources would be inside of the room anyway.
This is in no way an exhaustive list and I’m sure there are other ways to improve interior renders, but I hope this has been helpful. Feel free to let me know your favourite way to render your interior scenes below.

Really good information. Thank you very much
Very helpful tips. Thanks for posting them
iRay Section Planes changed my life. And for that I’m grateful