One of the trickiest parts of working in Daz Studio, is when you want to have the model wear heels.
The first problem is getting a set of heels that are well fitted and well made. I can tell you from experience making heels is not easy, but a well modelled pair with morphs for fitting adjustment go a long way to making things easier.
After that there are some tips, some obvious, some not so obvious, that you can use to improve your renders.
Note
These tips are based on Genesis 8. I have yet to try these tips on Genesis 3 so please keep that in mind if you are not using Genesis 8 models.
Fit Heels After Posing
Something that might not be known by those new to using Daz. You should pose your character, minus the feet, before you fit the heels you are going to use. Most heels will also apply their required pose so that the feet fit correctly and that resets any posing you did previously.
You should know
Some heels can distort when not using the pose they were provided with, so it is important to always start from the provided pose and go from there.
Zeroing model’s Feet
If you are using a pose preset that also poses the feet you may want to zero the posing on the model’s feet before you fit your heels. This helps make sure the heels pose applies without issue.
Zeroing is especially useful if the pose preset you used positioned feet elements such as toes or the metatarsal which the heel pose may not re-position.
To do this select the left or right feet in the Scene view, right-click and choose ‘Select’ -> ‘Select Children’. Then click ‘Edit’ -> ‘Figure’ -> ‘Zero’ -> ‘Zero Selected Item(s) Pose’. This will zero out any poses applied to the feet, metatarsals, toes and individual toes.
If you notice your model’s feet are still in a ‘high heel’ pose it may be that the pose uses one of the pose controls instead. You can find those in the ‘Parameters’ window under ‘Pose Controls’ -> ‘Feet’. Generally in Genesis 8 figures this is the left and right heeled shoe control.
Using Foot Morphs With Heels
Let’s face it Genesis 8’s default feet are pretty uninspired and rather generic looking. I’ve given them the nickname ‘sausage toes’. Even with heels it would be nice to inject some personality into them and we can with some pretty nice morphs.
Why?
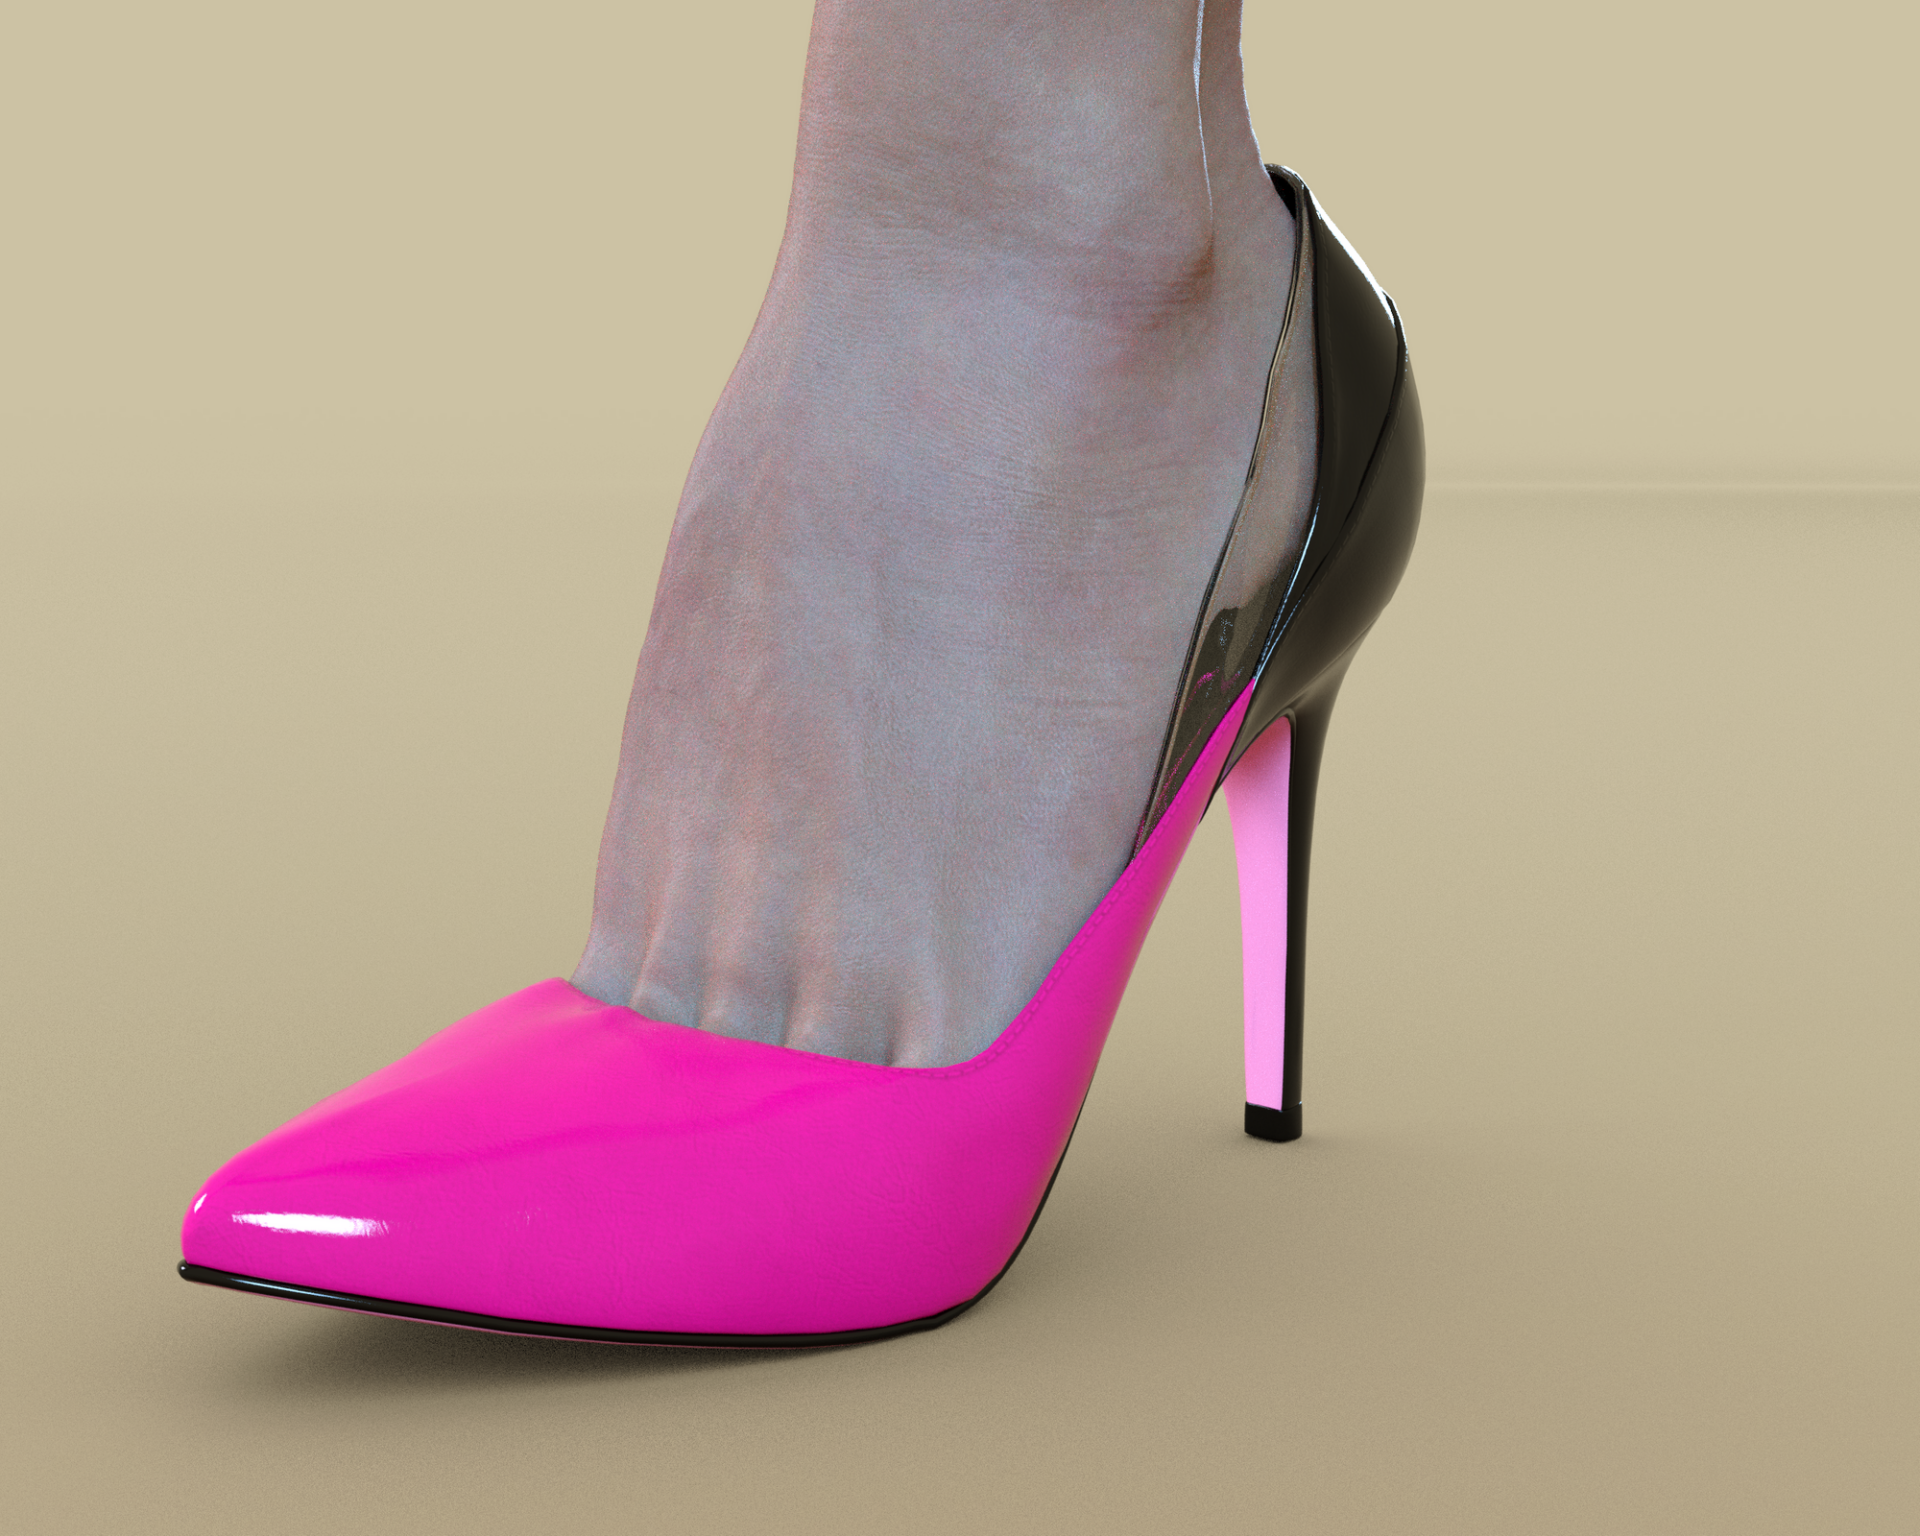
Why use foot morphs when you are covering them with heels? Well in courts you can still see the base of the toes, and the dorsal area. You may also be using open heels such as these by dx30.
Some morphs available are Real Feet 2, Golden Core Hands & Feet, and even Killer Legs 2. The problem is that when you dial these in they distort the shoes pretty badly. After applying your heels with morphs dialled in you might see something like this.

Notice how the toe area is kinda ugly and the heel has been shortened and distorted.
This is caused by Daz automatically applying the morphs you have dialled up on your model’s feet onto the heels too. This, generally, distorts the heels.
To correct this we just need to dial the morphs you applied to the model down but on the heels. To do this select the heels in your scene tab then right-click the ‘Parameters’ tab and select ‘Show Hidden Properties’. You will now be able to find the morphs you dialled up on your model in the same areas they were on the main model just dial them down to 0% and you should see the distortion go away.
Note
There are occasions, especially with more extreme morphs, where keeping a little of the morph on the shoe can help with fitting. Use your own judgement to balance distortion with fitting.
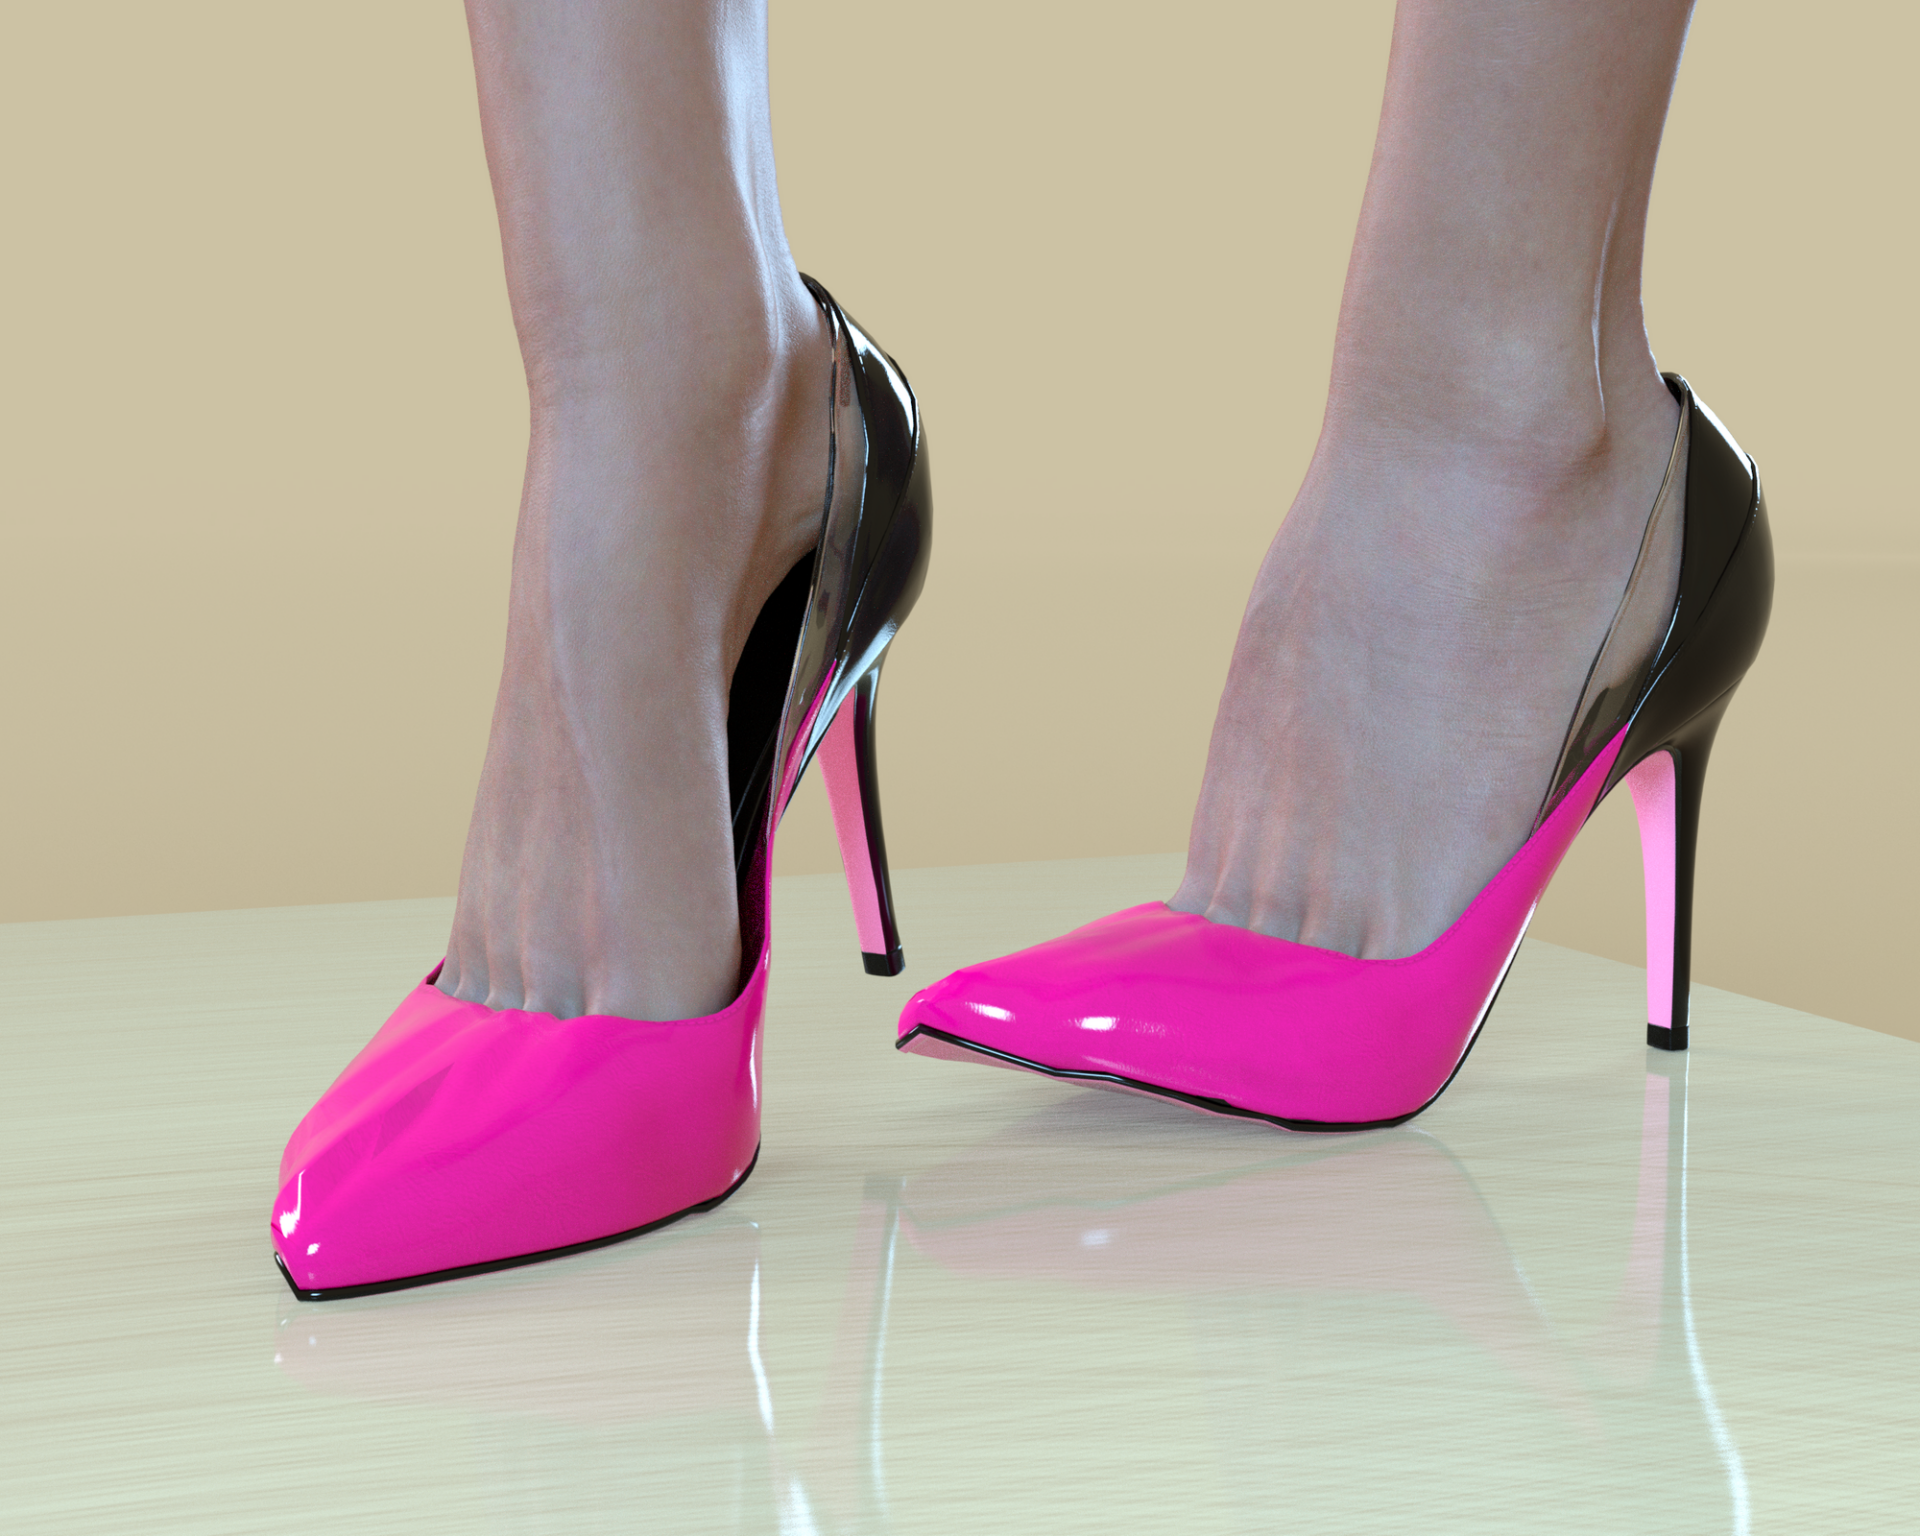
As you can see the shoe looks a lot better now that the morphs auto-applied to the shoe have been zeroed.
Strange Shaping
This one is hard to explain so I’ve made some images to help illustrate the issue. Sometimes, depending on the heels, you may notice some strange shaping. This normally occurs around the toes and can be somewhat subtle.
This problem is caused by the toe bones. In general most high heels would not require the ability to move the area each individual toe would occupy.
Remember
This is not the model’s toes, they should be able to move. These are toe bones that move the area of the shoe around each of the model’s toes. Those are generally not needed.
You should be able to solve this by posing each toe or using the toe pose that came with your shoes. However the image above was rendered after applying that pose and it didn’t fix the issue.
Thoughts
The issue could be caused by the fact that the foot morphs I applied do not also move the model’s toe bones, meaning they aren’t in the position the heels expect them to be.
Luckily there is a fairly easy way to make sure there is no strange shaping and that is to remove the individual toe bones from the heels. This is safe since, as I mentioned, they generally aren’t needed.
To remove the toe bones select the heels you are using in the ‘Scene’ tab. Now go to your ‘Tools’ tab and select the ‘Joint Editor’ tool. You can then select each toe bone, right click in the viewport and select the delete option. Do this for all the individual toes (big toe and 4 smaller toes), remember they have 2 bones each. Leave the main toe bone (left and right toes).
You should notice the problem vanished as soon as you removed all of the toe bones.
Remember this removes the toe bones from the heels, not from your character. So if you are using open toed shoes you can now move the characters toes without the heels distorting, which I’ve noticed is a common issue.
With all of the above completed you should have a pair of shoes on Genesis 8 that look great and feet which have some personality to them.

There may be a better way to do this without resorting to deleting bones or showing hidden morphs, but I haven’t been able to find them. If you know of a way, please let me know via the comments below.
Be First to Comment